
Many cyclists find the idea of how to remove pedals from a bike intimidating. However, I assure you it is a straightforward task. Learning to remove bike pedals offers great benefits. You can easily perform maintenance, upgrade your pedal, or prepare your bike for travel. This guide will simplify the entire process. I will show you how to remove a pedal with confidence. You will quickly learn to remove pedals from any bike.
Essential Tools to Remove Pedals

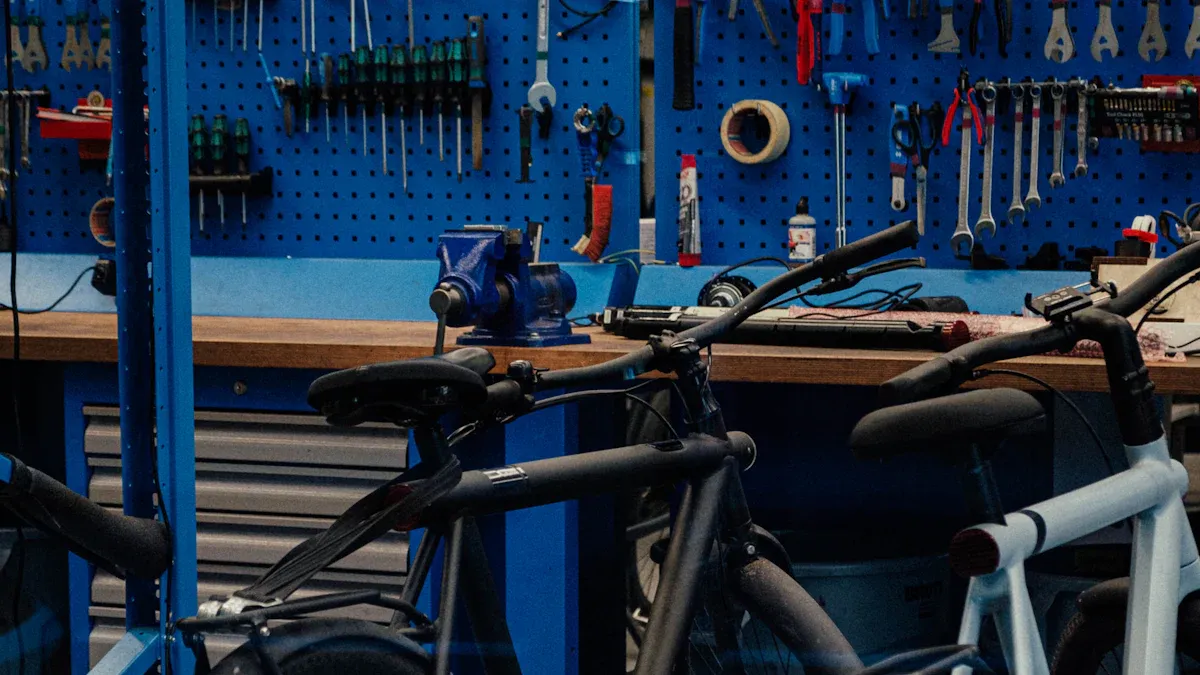
I always start any bike project by gathering the right tools. Having the correct tools makes removing bike pedals much easier. It also prevents damage to your bike.
Pedal Wrench or Hex Key
I find a long pedal wrench is crucial. It gives me the leverage I need. Many good wrenches are around 32 cm (12.5″) or even 395 mm (15.5″) long. They are often made from strong chromoly steel. This material ensures a lifetime of service. These wrenches typically have 15 mm and 9/16″ openings. This fits most bicycle pedals. However, many modern pedals do not use a wrench. They use a hex key. This key fits into the end of the pedal spindle. I see 8mm hex keys used very often. Some pedals also use 6mm hex keys. For example, the CXWXC CX-930 Pedals require an 8mm hex Allen key for installation. I always check my pedal type first.
Penetrating Oil and Safety Gear
Sometimes, a pedal can be very stubborn. This is where penetrating oil comes in handy. These oils are low-viscosity fluids. They are designed to get into tiny spaces. They loosen rust and corrosion. For example, CRC® SCREWLOOSE® is a powerful solvent. It actively attacks corrosion. It helps free seized parts. It works by instantly penetrating minute crevices. Penetrating oils are a mixture of oil and solvent. They are effective at loosening dried lubricants and displacing moisture. I always apply it to seized threads. I let it sit for a while. This gives it time to work. I also wear gloves to protect my hands. Shop rags are useful for cleaning up any excess oil.
Understanding Pedal Threading
I always find understanding pedal threading crucial. It prevents frustration and damage. Knowing how your pedals attach is key to removing them correctly.
Right Pedal: Standard Thread
The right pedal on your bike uses a standard thread. This means it tightens when you turn it clockwise. I remember this by thinking “righty-tighty.” For standard right-side bicycle pedals, the universal and international standard thread is 9/16″. This specification applies to adult and children’s bicycles, pedals, and cranksets of all brands. The right pedal features a standard thread, meaning it tightens by screwing from left to right (clockwise). I also know that standard right-side bicycle pedals commonly use a 9/16″ x 20 TPI thread specification. Product listings for ‘9/16-20 Right Side Bicycle Pedal Wire Thread Inserts’ confirm this. This specific thread ensures a secure connection.
Left Pedal: Reverse Thread
Now, the left pedal is different. It uses a reverse thread. This means it tightens when you turn it counter-clockwise. I think of it as “lefty-tighty” for the left pedal. This design is smart. As you ride your bike, the forces on the pedal naturally try to loosen it. With a reverse thread, these forces actually help to keep the pedal tight. This prevents your pedal from unscrewing itself while you are riding. It is a safety feature.
The “Turn Towards the Rear” Rule
I have a simple rule for removing both pedals. I call it the “Turn Towards the Rear” rule. This rule makes removal easy. To loosen any pedal, you always turn your wrench towards the rear of the bike.
For the right pedal, turning towards the rear means turning counter-clockwise. This loosens the standard thread.
For the left pedal, turning towards the rear means turning clockwise. This loosens the reverse thread. This rule simplifies the process. You do not need to remember “clockwise” or “counter-clockwise” for each side. Just remember to turn the wrench handle towards the back of your bike. This method works every time. It helps me remove pedals quickly and correctly.
How to Remove a Pedal: Right Side

Position and Tool Placement
I always start by positioning my bike correctly. I place the drive-side crank arm forward. I aim for around the 3 o’clock or 9 o’clock position. This gives me the best leverage. Studies show that nearly all power in pedaling comes from the downstroke. The 3 o’clock position is within the most powerful part of the pedal stroke. At this point, my foot is in a good position. My hip and knee joints are less restricted. This makes it easier to apply force. Next, I place my pedal wrench. I put it on the flattened surface between the pedal body and the crank arm. If my pedal uses a hex key, I insert it into the end of the pedal spindle.
Loosening the Right Pedal
Now, I am ready to loosen the right pedal. I point the wrench handle towards the front of the bike. Then, I pull it towards the rear of the bike. This action loosens the pedal. Remember, for the right pedal, this means turning anti-clockwise. I hold the brakes firmly for stability. I also push down hard on the wrench. Sometimes, I hold the opposite crank arm to keep it steady. This technique helps me remove a pedal smoothly.
How to Remove Pedals from a Bike: Left Side
Position and Tool Placement
I move to the left side of my bike. I position the non-drive-side crank arm forward. I aim for the 3 o’clock or 9 o’clock position. This setup gives me the best leverage. It allows me to apply maximum force. I carefully place my pedal wrench. I put it on the flattened surface. This surface is between the pedal body and the crank arm. If my pedal uses a hex key, I insert it directly into the end of the pedal spindle. I make sure the tool is fully seated. A secure tool placement prevents slipping. This step is important for safety and efficiency. It prepares me to remove the pedal without struggle. I always double-check my tool’s grip. This ensures a clean break when the pedal loosens.
Loosening the Left Pedal
Now, I am ready to loosen the left pedal. I point the wrench handle towards the front of the bike. Then, I pull it firmly towards the rear of the bike. This specific action loosens the pedal. It is important to remember the left pedal has a reverse thread. So, turning towards the rear means turning clockwise. This clockwise motion effectively loosens the reverse thread.
I hold the brakes firmly. This adds crucial stability to the bike. It prevents the bike from moving or shifting unexpectedly. I push down hard on the wrench. I use my body weight for extra force. This helps overcome any stubbornness in the threads. I also hold the opposite crank arm with my free hand. This keeps the entire crankset steady. This technique helps me remove pedals efficiently. It makes the process smooth and controlled. I can easily remove a pedal this way. This is a key step in how to remove pedals from a bike. I find this method reliable every time. It saves me time and effort.
Troubleshooting Stubborn Pedals
Sometimes, a pedal just does not want to budge. I have faced this many times. Do not worry; I have some tricks for these stubborn pedals.
Applying Leverage and Lubrication
First, I always try to increase my leverage. A longer wrench gives me more power. I often use a “cheater bar.” This is a pipe that slides over my wrench handle. It makes the wrench longer. For bike tasks, I find a 2 to 3-foot piece of electrical conduit works well. I have also used an old bicycle downtube. Thicker steel pipes, around 3 feet long, also provide excellent leverage.
Next, I apply penetrating oil. I spray it generously where the pedal spindle meets the crank arm. This oil needs time to work. I usually let it sit for at least 15-30 minutes. For very stubborn cases, I leave it overnight. Sometimes, I even submerge the pedal and crank end in oil for a few days. This gives the oil plenty of time to seep into the threads and break down corrosion.
Heat Treatment for Seized Threads
If leverage and oil do not work, I turn to heat. Heat can help expand the metal. This loosens the grip on the threads. I use the “boiling water trick.” I carefully pour boiling water over the pedal and crank assembly. I let it sit for a few minutes. Aluminum expands more than steel when heated. Aluminum has a thermal expansion coefficient of about 23 µm/m·K, while steel is around 12 µm/m·K. This difference helps break the bond.
Important Safety Tip: I always make sure to wipe away any flammable penetrating oil before applying heat. I never apply heat to carbon fiber cranks. Heat will destroy them. For aluminum or steel cranks, I can use a heat gun or even a hairdryer on its highest setting for 60-90 seconds. My goal is to warm the crank arm, not make it red hot.
After heating, I try to remove the pedal again. Sometimes, a few gentle taps with a mallet on the wrench handle can also help. This shock can break the corrosion. These steps usually help me remove a pedal, even the most stubborn ones.
Post-Removal and Reinstallation Tips
After I successfully remove the old pedals, I always take a few extra steps. These steps ensure the new pedals install correctly. They also prevent future issues.
Clean and Inspect Threads
First, I always clean the crank arm threads. I use a clean rag to wipe away any old grease or dirt. This removes any debris that could interfere with the new pedal. I also inspect the threads carefully. I look for any signs of damage or wear. Clean, undamaged threads help the new pedal screw in smoothly. This step prevents future problems like cross-threading.
Apply Anti-Seize Compound
I always apply anti-seize compound before installing new pedals. This is a crucial step. Anti-seize compounds are better than regular grease for pedal threads. They prevent corrosion and seizing. These compounds, like Park Tool ASC-1, contain ground metals such as aluminum or copper. They are suspended in a lubricant. This creates a durable protective layer. It works well for threaded parts, especially when I join different metals. Grease is okay for some bolts, but it is not ideal for dissimilar metals. It lacks the thickness to stop corrosive reactions. Finish Line Ti-Prep Anti-Seize Assembly Lube is another great option. It prevents cold-welding and galling. It works for all metals, including aluminum and titanium. I apply a thin, even coat to the pedal threads.
Proper Torque for New Pedals
Correct torque is very important when I fit pedals to a bike. It prevents damage and ensures safety. Under-torquing can make pedals difficult to remove later. It might even mean I have to discard the crank arm. Over-torquing can strip the threads. I use a torque wrench for this step. Different brands have specific torque recommendations.
Here are some common torque specifications for pedals:
Component | Brand | Newton meters | Inch-pounds |
|---|---|---|---|
Pedal shaft into crank arm | Campagnolo® | 40 Nm | 354 in lbs |
Pedal shaft into crank arm | FSA® Cranks | 29~34 Nm | 257~301 in lbs |
Pedal shaft into crank arm | Ritchey® | 34.7 Nm | 307 in lbs |
Pedal shaft into crank arm | Shimano® | 35 Nm | 304 in lbs |
Pedal shaft into crank arm | Truvativ® | 31.2 Nm | 276 in lbs |

I always check the manufacturer’s instructions for my specific pedals. I tighten the pedal to the recommended torque. I also make sure to remove and re-grease my pedal threads annually. This simple maintenance prevents many problems.
Removing bike pedals is a skill any cyclist can master. This guide showed you the right tools, how threading works, and proper techniques. Even stubborn pedals yield to these methods. I encourage you to try this task. You will feel satisfied caring for your bike. Now you can confidently handle future upgrades or maintenance for your bike’s pedals.

