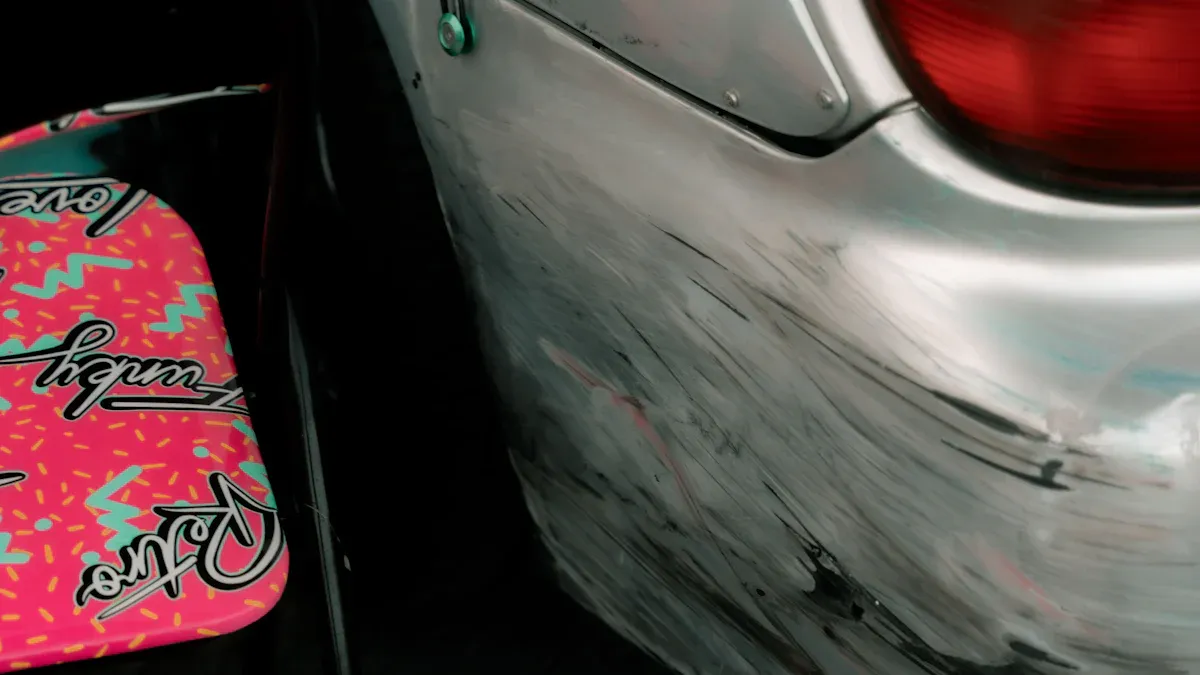
You feel frustrated when you see a new scratch on your car. That annoying scratch can really stand out. Many types of scratches are fixable right at home. You can remove scratches yourself and save money. This process gives you great satisfaction. You learn how to fix scratches and restore your car. This guide offers a simple, step-by-step guide to remove car scratches. You can easily make that visible scratch disappear. Don’t let a single scratch spoil your car’s look.
Key Takeaways
You can fix many car scratches yourself. This saves you money and makes your car look better.
First, find out how deep the scratch is. This helps you choose the right way to fix it.
Gather your tools like car wash soap, microfiber towels, and scratch remover. This makes the job easier.
Clean the scratched area well before you start. This stops more damage to your car’s paint.
After fixing the scratch, put on wax or a special coating. This protects your car and keeps it shiny.
Assess Car Scratches
Identify Scratch Types
You need to know the different types of car scratches. This helps you decide how to fix them. Clear coat scratches are superficial. They only affect the clear protective layer of your car’s paint. These marks look like delicate lines. They do not damage the color or primer underneath. Small objects like twigs often cause these scratches. Understanding these types of car scratches is the first step. Knowing the different types of car scratches helps you choose the right method. You can use the fingernail test to check the depth of a scratch. Gently glide your fingernail over the scratch. If your fingernail does not catch, it is a surface-level clear coat scratch. If it catches slightly, it is a deeper clear coat scratch. If your fingernail catches more easily, you have a base coat scratch. You will feel a noticeable edge. If the scratch feels jagged and rough, and your fingernail catches easily, it is a metal scratch. You might also see a gray metallic color.
Can You Fix Scratches Yourself?
You can fix many car scratches yourself. Clear coat scratches are super easy to fix. They do not go deep into the paint. You can often repair them with a scratch remover, a clear coat pen, or clear coat spray. If you have one or two paint scratches (base coat scratches), you can likely repair them yourself. Minor scuff marks are also often DIY fixable. You can easily remove these light scuff marks. However, if you see many paint scratches, you might need professional help. This guide helps you with these common issues.
When to Seek Professional Help
Some scratches need professional attention. Visible dents and scratches expose the metal. This leads to rust. Rust can spread and harm your car’s structure. Deep scratches expose the underlying metal. This makes your car vulnerable to rust and corrosion. This causes long-term structural damage. Even minor cosmetic damage can lead to bigger problems if not fixed professionally. A detail shop can wet sand, polish, and apply a ceramic coat for deeper paint scratches. This type of detailing ensures a high-quality finish. Repairing scratches that reach the primer level can cost $500 to $1,000. Deep paint scratches are the most expensive. They can cost up to $2,500. Paint touch-up methods can range from $100 to $300. A full panel respray can cost $500 to $1,500. These costs show why you should know when to seek professional repair.
Tools to Remove Car Scratches
Gather Your Supplies
You need the right scratch removal tools. Gather your supplies before you start. You will need quality car wash soap. Microfiber towels are essential. They are gentle for cleaning and applying products. You need a scratch remover. This is the main product to erase blemishes. A dual-action polisher or microfiber applicator pad helps apply the remover. You also need polish to restore a smooth, glossy finish. Finally, use wax or sealant. This enhances shine and protects your car’s surface.
Choose the Right Products
Many products help remove scratches. For light scratches, you can use a polishing compound. Meguiar’s Ultimate Compound works well for minor scratches. It uses micro-abrasive technology. You can apply it by hand or machine. Carfidant Scratch and Swirl Remover is another good option. It removes light scratches and swirls. It also acts as a rubbing compound. It removes water spots and oxidation. For deeper scratches, consider a kit. Meguiar’s Scratch Eraser Kit is a good choice to remove scratches. The 3M Scratch Removal System also works well. Both kits attach to a drill. Formula 1 Scratch Out can polish away micro scratches. It can even eliminate some slightly deeper scratches. For very minor scuff marks, you might try petroleum jelly or non-gel toothpaste. Clear nail polish or touch-up paint can also help with minor scratch repair. For deeper scratches, fine-grit sandpaper (2000-3000 grit) can be used carefully. A simple polisher, like a Porter Cable DA, helps for effective detailing and to remove car scratches.
Prepare Your Workspace
Prepare your workspace for safety. A clean and organized workspace is important. It reduces hazards. Keep your area clutter-free. This lowers accident risk. Always use personal protective equipment (PPE). This includes gloves and eye protection. Wear respiratory masks and protective clothing. Handle chemicals safely. Store them correctly in well-ventilated areas. Keep Safety Data Sheets (SDS) accessible. Ensure good ventilation. This removes harmful fumes from sanding. Have fire safety precautions in place. Store flammable liquids away from ignition sources. Keep fire extinguishers nearby. This guide helps you prepare safely.
A Step-by-Step Guide to Remove Scratches
This step-by-step guide helps you effectively remove scratches from your car. You can restore your car’s appearance with careful work. Follow these instructions closely for the best results.
Clean the Area
You must thoroughly clean the scratched area before you begin any repair. This prevents grinding dirt or debris into your paint. Use soapy water to wash the damaged area. This removes all grime, dust, and moisture. For example, if you plan to use petroleum jelly or toothpaste, clean the area with soapy water first. If you use nail polish, ensure the surface is clean and free of grime or moisture. A clean surface is crucial for any successful scratch repair. This preparation step ensures the scratch remover works effectively.
Apply Scratch Remover
Now, you will apply the scratch remover. This is a key step to remove scratches. First, ensure the area is completely dry. Apply a small amount of scratch remover to a clean microfiber cloth. You can also use a scratch remover marker or pen for certain types of scratches. These offer an easy option for minor blemishes. Follow the manufacturer’s instructions for your specific product. Application methods can vary.
Rub the product into the scratch using circular motions. Apply gentle pressure. Be careful not to overdo it. Too much pressure can cause additional scratches. Work the product into the scratch until it seems to disappear. Wipe the area clean with a separate, dry microfiber cloth. Inspect the scratch. Repeat the process if necessary. You might need a few applications for deeper scratches.
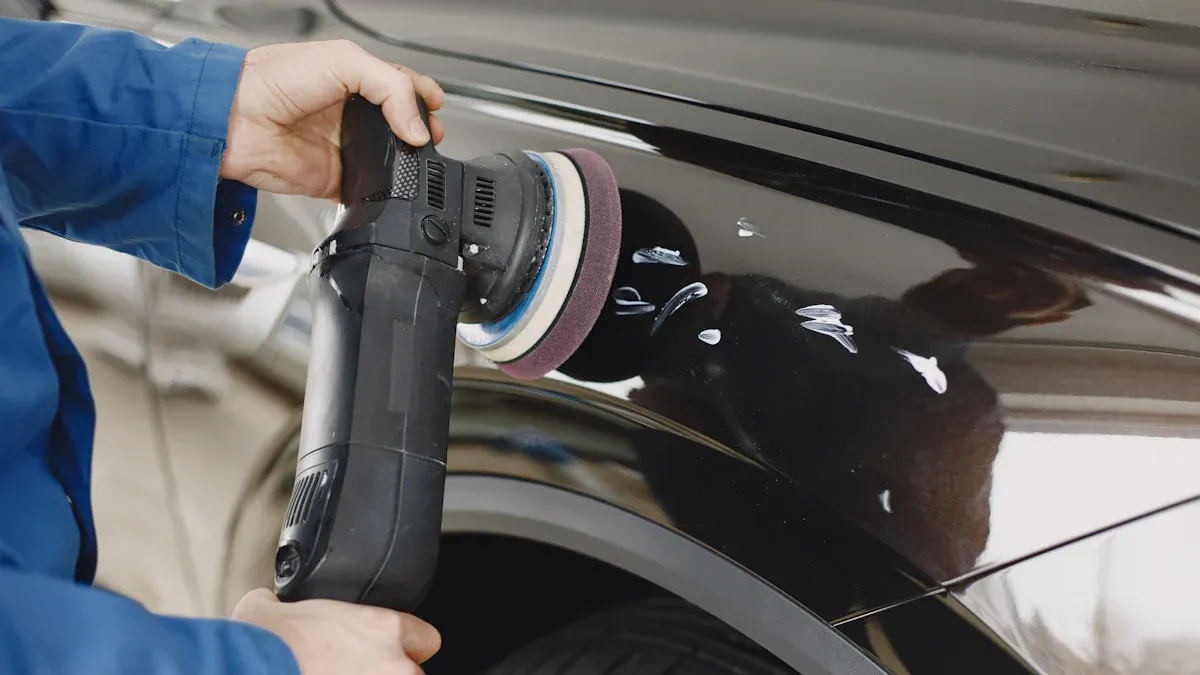
Buff and Polish
Buffing and polishing achieve a seamless finish after scratch repair. Once the touch-up paint or scratch remover is dry, you can begin. Lightly sand the area with 2000-grit sandpaper. This smooths the surface. Apply a small amount of rubbing compound to a microfiber cloth. Gently rub it into the scratch. Use a circular motion and light pressure. Continue buffing until the scratch is no longer visible.
For a more professional finish, you can use a multi-stage buffing process. Start with a heavy-cut compound. Apply it with a wool pad. Operate your buffer at 1200-1500 RPM. Keep the buffer constantly in motion. Then, transition to a medium-cut polish. Use a foam pad at 1000-1200 RPM. Work on smaller sections. Conclude with a fine polish. Utilize an ultra-soft foam pad at 800-1000 RPM. Focus on blending the edges. After buffing, re-check the paint thickness. Ensure you remove no more than 0.3 mils (8 microns) of clear coat. This preserves UV protection. Finally, apply a thin layer of car polish with a clean microfiber cloth. Buff to restore your car’s shine and luster. This detailing step enhances the paint’s depth.
Protect Repaired Area
Protecting the repaired area is the final step. This ensures the longevity of your scratch repair. Apply a protective coating like wax or a ceramic coating. This offers a robust layer of defense.
Here are the benefits of applying a protective coating:
Durability: Coatings can last 2-5 years or longer. This depends on the product and application.
Hydrophobic Properties: They repel water and contaminants. This makes cleaning easier.
UV Protection: Coatings prevent fading and oxidation. Sun exposure causes these issues.
Enhanced Aesthetics: They create a mirror-like shine.
Resistant to Scratches: Ceramic coatings are scratch-resistant. This lowers the risk of new scratches. It protects the car’s surface.
Increased Protection: You get a strong shield against scratches, swirl marks, and environmental damage.
This protective layer helps maintain the vehicle’s exterior appearance. It also enhances its resale value.
You now have a complete guide to tackle car scratches. Remember to clean the area, apply the scratch remover, buff, and then protect the repaired spot. Patience and following each step are key to successful scratch removal. You can confidently fix those minor scratches yourself. Maintaining a scratch-free car significantly boosts its aesthetic appeal. A pristine exterior also preserves your car’s resale value. Buyers see a well-maintained car as reliable. You can restore your car’s look and protect your investment. Take pride in keeping your vehicle looking its best.