You’ll pick a solid 700R4 core through checking case strength, bolt bosses, and shift tower shape, and you’ll match upgrades to your goals so you don’t waste money. Swap in hardened input shafts, improved clutch packs, and a stiffer reaction servo to handle more power, then fit a torque converter with the right stall suitable for your engine. Tune the valve body with an adjustable shift kit and follow careful assembly and break-in steps, and keep going to learn setup details.
Choosing the Right 700R4 Core and Identifying Case Variations
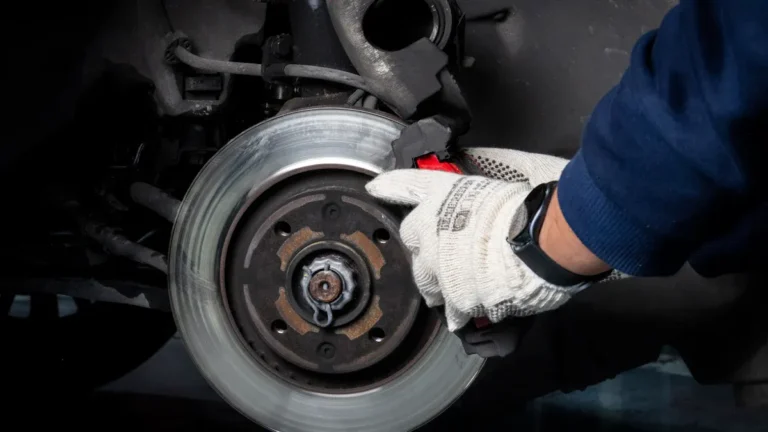
Looking for the right 700R4 core can feel overwhelming, but you don’t have to steer through it alone. You’ll want to check case materials initially because they affect strength and heat handling. Some cores use softer alloys and some use tougher mixes, so you can match the core to your driving goals.
Next, notice casting differences on the bellhousing and main body. They tell you about model year changes and factory reinforcements. You’ll look for clean mating surfaces and intact bolt bosses.
Also inspect shift tower shapes and drain plug locations since they hint at internal layouts. As you compare cores, consider how each detail fits your build and budget. You’ll feel more confident choosing a core that belongs in your project.
Essential Component Upgrades and Strengthening Modifications
At the time you’re planning to strengthen a 700R4, start with the parts that take the most abuse and give you the biggest gains for the money. You and your crew will want to replace worn input shafts with quality hardened units. They reduce flex and keep gear engagement crisp.
Next focus on clutch packs and improve friction material and steel thickness so shifts stay strong under load. Work on the reaction servo and fit upgraded bores or stronger servos in order to prevent soft 2-3 engagements.
While you build, adjust band adjustments carefully to set clearance and avoid slippage. These changes work together, so upgrade parts and settings in sequence. You’ll feel confident, supported, and part of a team doing right in relation to the transmission.
Torque Converters, Stall Speeds, and Matching to Your Powerband
You’ve already strengthened the guts of the 700R4, and now you’ll want the right torque converter to make those upgrades shine. You need a converter that matches your engine’s powerband so the stall speed lets you launch without bogging or wasted revs.
Consider your usual driving and the community you ride with during the selection of stall. A higher stall helps big cams and racing builds while a lower stall suits daily comfort and towing.
Also focus on converter lockup behavior and slip prevention. Smooth lockup improves fuel use and feels connected, while proper clutch surface and balanced internals stop slip.
Work with builders who listen, test stall ranges, and tune lockup timing so your car feels confident and together.
Valve Body, Shift Kit Options, and Calibration Tips
At the time you swap parts inside the 700R4, the valve body becomes the control center that decides how the transmission feels, so you want a valve body and shift kit that match your engine and driving style.
You’ll pick a kit that tunes hydraulic circuits for firmer or softer shifts while keeping pressure regulation steady. Choose springs, valves, and bushings to match stall and power delivery.
You’ll prefer kits with adjustable options so you can fine tune without guessing. During installation, test in stages and observe changes. Then calibrate through adjusting detents and line pressure, driving between tweaks.
You’ll feel confident as shifts sharpen and the car responds, and you’ll join others who share tips and support.
Assembly Procedures, Gasket-to-Gear Best Practices, and Break‑In Plan
Now that you’ve picked a valve body and shift kit that match your power and feel, start the assembly with care and a steady plan so the parts you chose can actually perform.
Lay out parts in order and mark where each gasket sits. You’ll check seal alignment on every seal and bore.
Fit gaskets dry initially, then install gears and shafts gently so teeth mesh without force.
Use the right lubricant selection before moving parts touch, and apply thin coats where bearings ride.
Torque bolts in stages and recheck clearances often.
At the point you’re ready, follow a break in plan that uses short gentle shifts, warmed fluid, and progressive load increases.
You’ll feel confident upon following steps together and seeing parts settle in.