I believe you can easily change pedals yourself with the right tools and know-how. This guide will walk you through each step, ensuring a successful and safe pedal swap. I find correct technique critical to avoid common pitfalls. For instance, you must start the thread gently by hand to prevent cross-threading, which can lead to expensive mistakes. Many people also fail to tighten their pedals firmly enough. Repeated assembly and disassembly, while sometimes necessary, can wear out the threads on your bike’s soft aluminum cranks.
Tools and Pedal Orientation
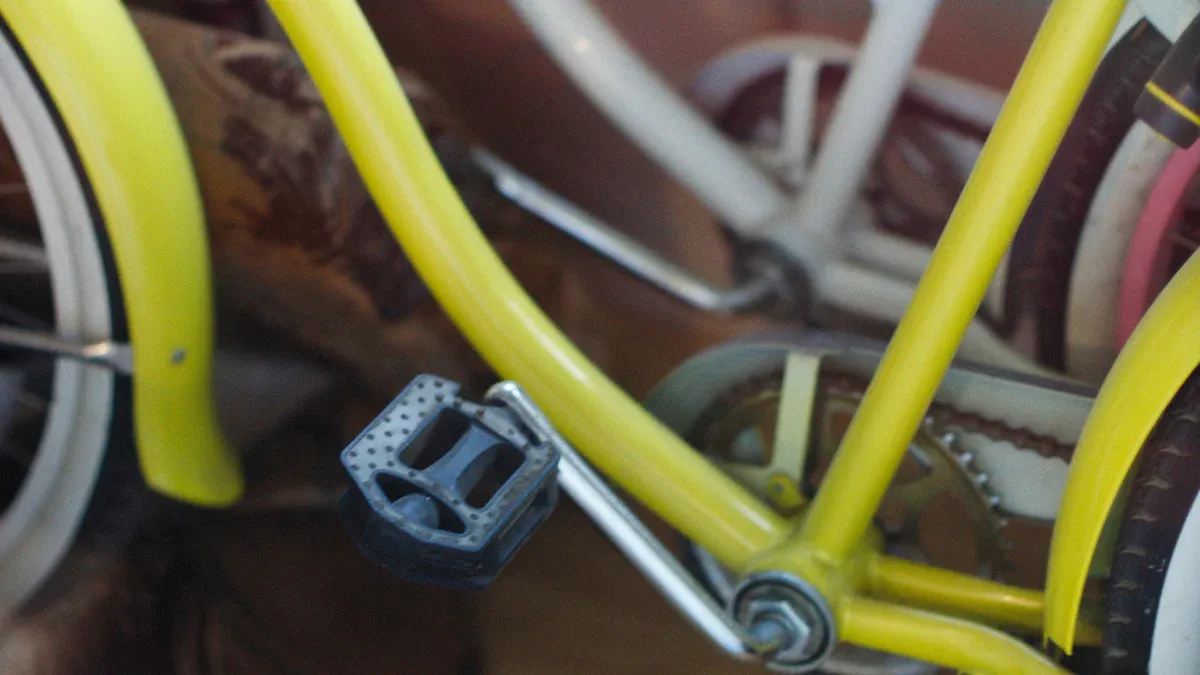
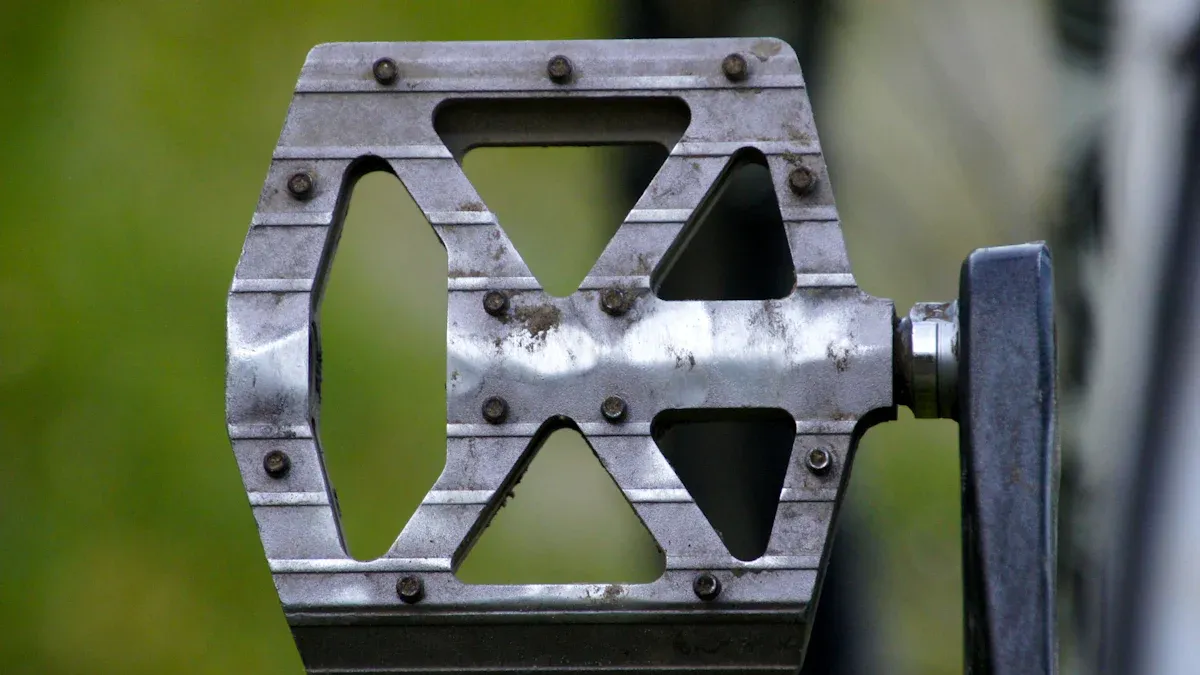
Essential Tools for Changing Pedals
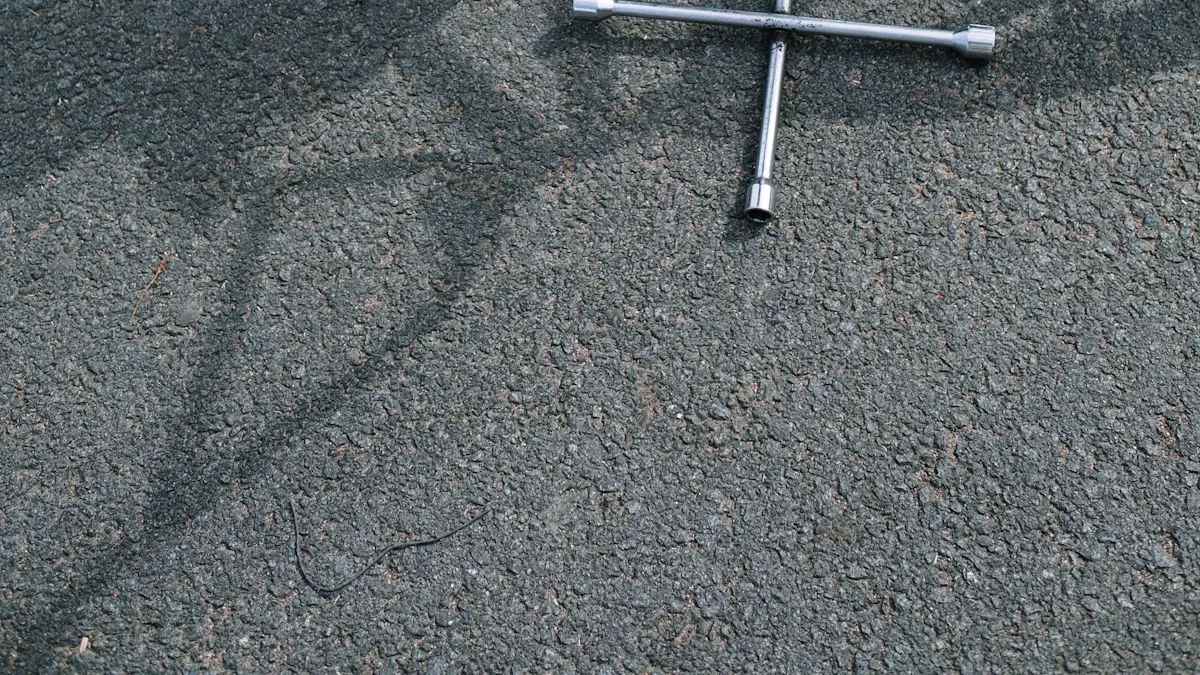
Before you begin, gather your tools. I find a pedal wrench is usually the best tool for the job. It has a thin profile. This fits easily between the pedal and the crank arm. Many modern pedals, however, use a hex key fitting on the inside end of the spindle. You might need an 8mm or 6mm hex key for these. Always confirm the correct size for your specific pedals. Having the right tool prevents stripping the bolt head. It also protects your bike from damage. Using the wrong tool can cause significant problems.
Understanding Pedal Thread Direction
This is where many people get confused when they change pedals. One of the bike pedals is threaded backward. This makes the correct turning direction crucial. I always check the R/L markings on the pedals themselves. You will also find these markings on your crank arms. The right pedal uses right-hand threads. The left pedal uses left-hand threads. This means they tighten in opposite directions. This design prevents the pedals from unscrewing themselves while you ride. Your pedaling motion naturally tightens them.
I use a few tricks to remember this. For removal, think “Back Off!” This mnemonic helps me. The pedal wrench arm rotates towards the back of the bike to remove the pedal. This works regardless of the side. Another helpful tip for installation is “Forward to Fasten.” This means you turn the pedal forward. You turn it in the direction the wheel spins when you ride. This action tightens it. Knowing how to tell left from right pedals is key. This prevents cross-threading. It also saves you a lot of frustration. Always remember the unique threading of your left and right pedals.
How to Remove Pedals
Preparing for Pedal Removal
Before I show you how to remove pedals, I always prepare my workspace. I make sure my bike is stable. I often put it in a repair stand. If you do not have a stand, lean your bike against a wall. Make sure it cannot tip over. I also double-check I have the correct tool. As I mentioned, this is usually a pedal wrench or a hex key. Having the right tool prevents damage to your pedals or crank arms. I also like to wear gloves. This gives me a better grip and protects my hands.
Loosening Each Pedal Correctly
Now, let’s get to the core task: how to remove pedals. When you change pedals, knowing how to remove them correctly is vital. This step requires careful attention to thread direction.
For the right pedal, I turn the pedal wrench counter-clockwise to remove it. I find it helpful to think of turning the wrench towards the back of the bike. This action loosens the pedal. The right pedal has a right-hand thread. This means it removes counter-clockwise. I attach my wrench or Allen key to the right pedal. I apply steady pressure. I turn it counter-clockwise. I continue turning the wrench counter-clockwise until the pedal is completely removed from the crank.
For the left pedal, the direction is opposite. I turn the pedal wrench clockwise to remove it. I think of turning the wrench towards the back of the bike again. This also loosens the pedal. The left pedal has a left-hand thread. It removes clockwise.
I use a simple rule for removal: turn the wrench in the opposite direction of tire rotation. Imagine the wheel spinning forward. The wrench turns the other way.
Sometimes, pedals can be very stubborn. I have encountered many seized pedals. For these, I have a few tricks. First, I apply penetrating oil. I let it soak for about 10 minutes. This helps loosen any rust or corrosion. Then, I try again. For increased leverage, I sometimes use a cheater bar. This is a pipe I slide over my wrench handle. It gives me more power. I use caution with this method. I do not want to damage the crank arm. Another technique I use involves my body weight. I sit on the bike. I place one foot on the pedal. I pull up on the tool with my hands. Or, I step on the pedal itself. This uses my body weight to help break it free. If a pedal is still stuck after these attempts, I consider professional help. A bike shop has specialized tools and expertise. They can remove bike pedals safely.
How to Change Bike Pedals: Installation
Prepping New Pedals for Installation
Before I install new ones, I always prepare them properly. I apply a thin layer of grease to the threads. This step is crucial. It prevents corrosion and makes future removal much easier. Many sources, including instructions for Assioma power pedals, recommend bike grease. Some people suggest anti-seize, but grease is generally preferred for threads on a bike. I have personally used Phil Wood waterproof grease for decades. I have never had seizing issues. Park Tool’s green grease also works well. White lithium grease is another good option. It even performs well on bikes stored outdoors in damp conditions. Remember, any grease is better than no grease. It protects your threads and ensures smooth operation.
Hand-Threading to Prevent Cross-Threading
Now, I am ready to install the new components. I always start by hand-threading them. This prevents cross-threading. Cross-threading can damage your crank arms. I remember the rule: “same direction as tire rotation” for installation. For the right pedal, I turn it clockwise. This is the direction the wheel spins when you ride forward. The right pedal tightens clockwise. I thread it by hand first. Then I tighten it clockwise. This right-side pedal (drive side) is usually marked with an “R”. It tightens clockwise. It loosens counterclockwise. For the left pedal, I turn it counter-clockwise. This is also the direction the wheel spins forward on that side. I make sure the threads engage smoothly. If I feel any resistance, I stop. I back the component out. I try again. I never force it. This careful approach is key to how to fit pedals correctly.
Final Tightening of Your New Pedals
After hand-threading, I use my pedal wrench or hex key for the final tightening. I tighten the component until the spindle contacts the crank arm. I feel it snug up. Then, I give it a single, firm push with the pedal wrench. I do not over-tighten. For Look Keo pedals, the manufacturer recommends a torque of 40 Nm for installation. This is a good guideline for many.
I tighten them firmly enough to tense my arm. I do not strain myself. It is better for them to be a little too tight than too loose. Loose ones can strip threads. If I use a typical 8mm Allen wrench, I tighten them as much as I can comfortably. I always apply grease or anti-seize compound to the threads before installation. This helps achieve proper torque. Pedals have specific left and right threading. This design prevents them from loosening during pedaling. So, I do not obsess too much about exact torque values. A firm, secure fit is what I aim for. This completes the process to change pedals. Now you know how to change bike pedals effectively.
Troubleshooting and Maintenance Tips
I find removing and replacing pedals essential for general bike maintenance. It is also necessary when I travel with my bike. This practice helps me keep my bike in top condition. It also ensures safety on the road.
Dealing with Stuck Pedals
Sometimes, I encounter a stubborn or seized pedal. I have a few strategies for this. First, I apply a good penetrating oil. Products like PB Blaster or Kroil work well. I have also heard claims that a 1:1 mixture of Automatic Transmission Fluid and Acetone works effectively. I let the oil soak for several hours, or even days, if needed. This helps break down corrosion. For extra leverage, I use a long Park Pedal wrench. Sometimes, I add a cheater bar, like a 3-foot pipe, over the wrench handle. I always turn the pedal wrench towards the rear wheel for removal. This is the correct direction. If the pedal is still stuck, I might try heat. I apply heat directly to the crank arm around the pedal axle. I can also try freezing the crank arm for a couple of hours. Then, I quickly install it and pour boiling water over the crank around the pedal threads. Tapping the wrench with a hammer can also help break adhesion.
Preventing Cross-Threading
Cross-threading is a common issue I want to avoid. It often happens when I install pedals backward. I know that left and right-handed threads exist. Installing pedals incorrectly can damage the soft aluminum inside the crank arms. I always ensure I have the correct pedal for the correct side. I apply a thin layer of grease to the pedal threads before installation.
This allows smoother threading. It also reduces friction. I always start threading the pedals by hand. I turn the right pedal clockwise and the left pedal counterclockwise. I do this for a few turns. This ensures proper alignment. If I feel any resistance, I stop immediately. I remove the pedal and try again. Pedals should always thread in easily. I never force them.
Importance of Regular Pedal Checks
I believe regular checks are crucial for my bike. I check all bearing systems, including my pedals, yearly or every 6,000 miles. I overhaul them to check bearings and add fresh grease. Monthly, or every 500 miles, I use a wrench to test the tightness of all moving parts, including my pedals. I also lubricate the pivot points of my pedals. I inspect my pedals for smooth rotation and signs of wear every 2-3 years. I replace them if I notice excessive play or worn bearings. Signs of loose or worn pedals include increased resistance during rotation. I also listen for noise. I check for play or roughness when I spin the pedal by hand. Loose pedal components can cause noise as they move against each other.
I believe changing bike pedals is an empowering and simple maintenance task. I encourage you to confidently tackle this DIY project. You will feel great satisfaction performing your own bike repairs. Remember to gather your tools. Understand the thread direction for your pedals. Always grease the threads of your pedals. Tighten your new pedals correctly. This guide helps you change bike pedals with ease. You can now maintain your own pedals.