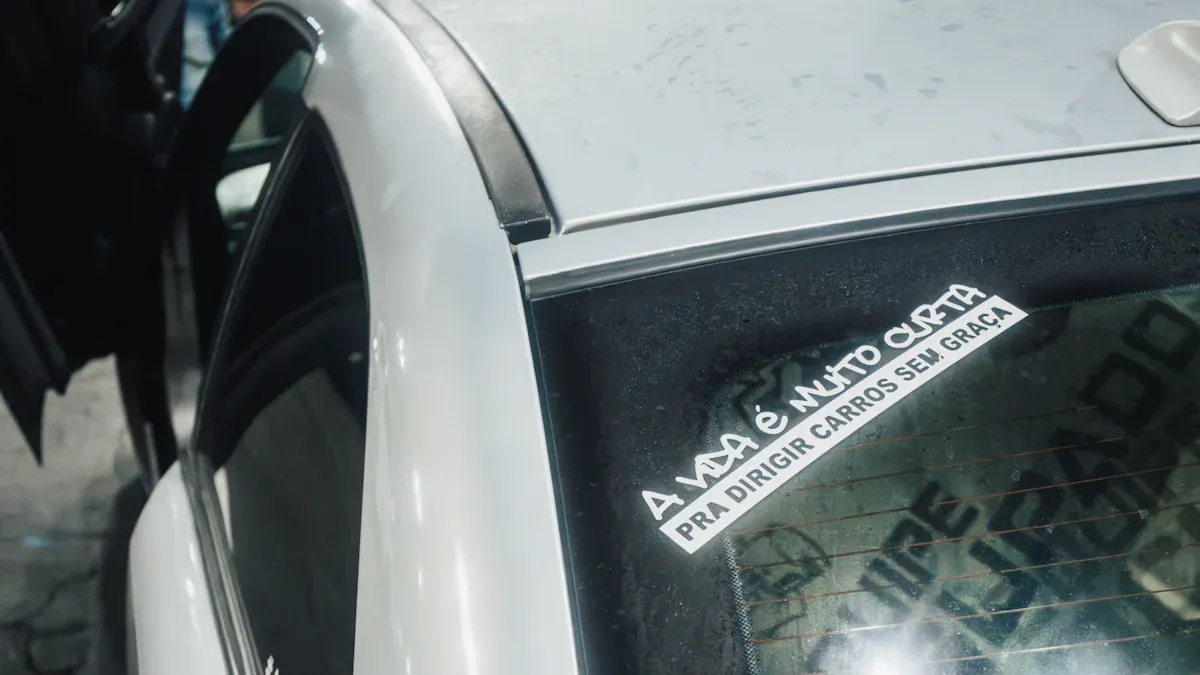
You want to remove bumper stickers from your car. You often worry about damaging your car’s paint. Reassure yourself; damage-free removal is entirely possible. You can remove even stubborn or old car decals with the right techniques. This post provides 10 proven, safe methods. These tips help you achieve a clean, sticker-free finish. Proper bumper sticker removal protects your car’s aesthetic. It also maintains your car’s resale value. You need the right tools for successful removal.
Key Takeaways
Always use proper methods to remove bumper stickers. This protects your car’s paint and keeps its value high.
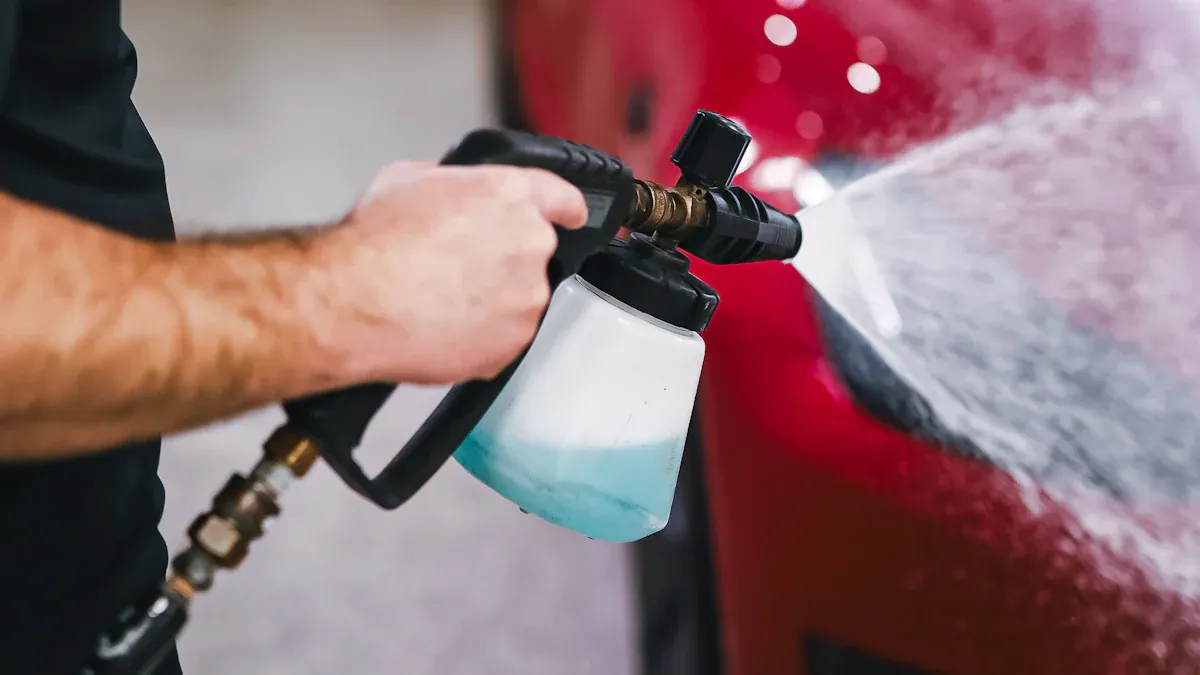
Gather your tools before you start. Clean the sticker area first. Work in a shaded spot to get the best results.
You can use heat, special removers, or household items like WD-40 or vinegar. These help loosen the sticker’s glue.
Never use metal scrapers or harsh chemicals. Do not peel stickers too fast. These actions can damage your car’s paint.
After removing the sticker, clean any leftover glue. Then, wash and wax the area. This keeps your car looking good.
Why Damage-Free Removal Matters
Protect Vehicle Paint
You want to keep your car looking its best. Improper bumper sticker removal can cause significant damage to your vehicle’s paint. You might end up with scratches, paint peeling, or stubborn adhesive residue. These issues are difficult to eliminate. Other common problems include sticky residue, stretched vinyl, and even gouges. These damages compromise your car’s original finish. A careful removal process protects your paint. It keeps your car’s exterior smooth and intact.
Maintain Resale Value
Bumper stickers can negatively affect your car’s resale value. They personalize the vehicle. This personalization may not appeal to a wide range of potential buyers. Even if you remove the sticker, the paint underneath might appear more vibrant than the surrounding faded paint. This indicates damage. Over-customizing a car, including using bumper stickers, can reduce its value. What one person considers a perfect customization, another might see as a problem. Car dealers may offer less for a trade-in. They consider the effort needed for sticker removal and any resulting paint issues. Bumper stickers make a car stand out in ways that deter potential buyers.
Avoid Costly Repairs
Damaging your car’s paint during sticker removal leads to costly repairs. You might need professional detailing or even a new paint job. These services are expensive. You can avoid these expenses by using proper removal techniques. Learning how to remove stickers without damaging paint saves you money. It also saves you time and hassle. Protecting your car from damage during the removal process is a smart choice. It keeps your car in excellent condition and prevents unnecessary costs.
Key Preparation Steps
Gather Supplies
You need to collect your items before you start. Having everything ready makes the job much easier. You will need a few simple tools. These tools help with the sticker removal. Get a spray bottle filled with plain water, a soft microfiber cloth, and a plastic scraper. A credit card also works well as a gentle scraper. You might also need a hair dryer or a low-setting heat gun. Make sure you have your chosen adhesive remover ready. This careful preparation saves time and protects your car from accidental damage.
Clean Sticker Area
Always clean the area around the sticker first. This initial step is very important for successful removal. Use a damp cloth to wipe away any dirt, dust, and grime. A clean surface helps the removal products work much better. It also prevents scratching your car’s delicate paint. Loose dirt can act like sandpaper if you rub it around during the process. A clean surface ensures a smooth and safe process. This protects your car’s finish from unnecessary marks.
Work in Right Conditions
Choose the right time and place for your sticker removal project. Avoid working in direct sunlight. Hot sun can make the adhesive much harder to remove. It can also dry out your cleaning solutions too fast, making them less effective. Work in a shaded area or inside a garage. The ideal temperature is mild, not too hot and not too cold. This helps the products work effectively and safely. Using paint-safe tools in these good conditions protects your car. This careful approach ensures a clean removal without harming your vehicle’s appearance.
10 Damage-Free Bumper Sticker Removal Tips
You can successfully remove bumper stickers from your car. These methods help you achieve a clean finish. You will not damage your car’s paint. Follow these tips for effective decal removal.
Heat Gun or Hair Dryer Method
You can use heat to soften the sticker’s adhesive. This makes removal much easier.
Prepare the Tool: Grab a heat gun or a hair dryer. A hair dryer is often safer for car paint. Its lower temperature reduces the risk of damage.
Apply Heat: Turn the device to a low setting. Hold it about 2 to 4 inches away from the sticker. You must keep the heat gun moving in a continuous sweeping motion. Never hold it in one place for more than 2 or 3 seconds. This prevents overheating the tool or surface. The limit for most paints is around 300 degrees Fahrenheit. Exceeding this can cause them to fail. If you cannot comfortably touch the paint, it is too hot.
Warm the Sticker: Heat the sticker for about 30 to 60 seconds. You will see the edges start to curl slightly.
Peel Gently: Use your fingernail or a plastic scraper. Start at one corner. Gently peel the sticker away. Pull it slowly at a shallow angle. If the sticker resists, apply more heat. Continue this process until the sticker comes off. This method helps remove bumper stickers effectively.
Goo Gone or Adhesive Remover
Specialized adhesive removers work wonders on sticky residue.
Apply the Product: Spray or dab Goo Gone directly onto the sticker. Goo Gone Original contains petroleum distillates. These are active ingredients. Goo Gone’s all-natural cleaner uses natural citrus extracts. These citrus-based formulas break down sticky residues.
Let it Soak: Allow the product to sit for several minutes. This gives it time to penetrate the sticker and dissolve the glue.
Wipe Away: Use a clean, soft cloth to wipe the sticker away. You can also use a plastic scraper for stubborn spots. This is a great method for bumper sticker removal. It is safe for glass surfaces too.
Clean the Area: Wash the area with soap and water afterward. This removes any residue from the remover.
Rubbing Alcohol Solution
Rubbing alcohol is a common household item. It can dissolve many types of adhesives.
Dampen a Cloth: Pour a small amount of rubbing alcohol onto a clean cloth.
Apply to Sticker: Press the damp cloth onto the sticker. Let it sit for a few minutes. This allows the alcohol to soak in.
Rub and Remove: Rub the sticker in small circular motions. The adhesive will start to break down. Continue rubbing until the sticker and glue come off. This removal method is simple and effective.
WD-40 Approach
WD-40 is not just for squeaky hinges. It can also help remove car decals.
Spray the Sticker: Spray a generous amount of WD-40 directly onto the sticker.
Let it Sit: Allow the WD-40 to soak into the sticker for 5 to 10 minutes.
Wipe Off: Use a clean cloth to wipe away the sticker and adhesive. You may need to reapply and wipe again for tough spots. This is one of the useful methods to remove car decals.
Vinegar and Water Spray
A simple vinegar solution can also help. It is a natural option for your car.
Mix the Solution: Combine equal parts white vinegar and water in a spray bottle.
Spray the Sticker: Liberally spray the solution onto the bumper sticker.
Soak and Scrape: Let it soak for about 10 to 15 minutes. Then, use a plastic scraper or an old credit card. Gently scrape the sticker off. Reapply the spray as needed. This gentle removal method works well.
Plastic Scraper or Credit Card
Sometimes, you just need a little leverage. A plastic scraper is a safe tool.
Soften First: Always try to soften the sticker first. Use heat or a liquid solution.
Angle the Scraper: Hold the plastic scraper or credit card at a shallow angle.
Gently Scrape: Carefully push the scraper under the edge of the sticker. Work slowly. Avoid digging into the car’s paint. This is one of the best decal removal tips. It helps you avoid damage.
Eraser Wheel Method
An eraser wheel attaches to a drill. It is designed for stubborn residue.
Attach to Drill: Secure the eraser wheel to your drill.
Low Speed: Set your drill to a low speed.
Apply to Residue: Gently press the spinning wheel onto the adhesive residue. The wheel will rub away the glue. It will not harm your car’s finish. This is an excellent tool for tough jobs.
Warm Soapy Water Soak
This method is best for less adhered decals. It is also good for older, brittle stickers.
Prepare Solution: Mix warm water with a few drops of dish soap.
Soak the Sticker: Apply the soapy water to the sticker. You can use a sponge or cloth. Keep the sticker wet for several minutes.
Peel Away: The warm water helps loosen the adhesive. Gently peel the sticker off. This helps remove bumper stickers without damaging paint.
Mayonnaise Application
Mayonnaise contains oils and acids. These can break down adhesive.
Apply Mayo: Spread a thick layer of mayonnaise over the entire sticker.
Let it Sit: Allow the mayonnaise to sit for 10 to 15 minutes.
Wipe Clean: The oils will work on the glue. Wipe away the sticker and residue with a soft cloth.
Ronsonol Lighter Fluid for Residue
Lighter fluid can be very effective for sticky residue. Use it carefully.
Dampen Paper Towel: Put a small amount of Ronsonol lighter fluid onto a paper towel.
Apply to Residue: Gently dab the paper towel onto any remaining adhesive. This works especially well on glass.
Wipe Away: The fluid will dissolve the glue. Wipe it clean with a fresh cloth. This is one of the gentle methods to remove car decals.
What Not to Do for Sticker Removal
Avoid Metal Scrapers
You must never use metal scrapers. Metal tools can easily scratch your car’s paint. These scratches are often permanent. They require costly repairs. Instead, choose plastic scrapers or an old credit card. These softer tools help protect your car’s finish. They allow for safe sticker removal.
Do Not Use Harsh Chemicals
Avoid harsh chemicals. Strong solvents or industrial cleaners can strip your car’s clear coat. They can also damage the paint itself. This leads to discoloration or dull spots. Always use products specifically designed for automotive use. These products are safe for your car’s delicate surfaces. They ensure effective sticker removal without harm.
Resist Peeling Too Fast
Do not peel the sticker too quickly. Fast peeling often tears the sticker. This leaves behind stubborn pieces and adhesive residue. It can also pull up paint, especially on older vehicles. Take your time. Peel slowly and steadily. This method helps you achieve a cleaner removal. It minimizes leftover glue.
Skip Abrasive Materials
You should never use abrasive materials. These materials cause permanent damage to your car’s paint. For example, abrasive polishes can lead to hazing. This happens especially on softer paints. Improper car washing techniques also cause significant damage. Using inappropriate cleaning tools or insufficient water pressure creates deep scratches. A single home hand-wash can create scratches as deep as one-tenth of the paint’s total thickness. Swirl marks often result from abrasive brushes in automated car washes. Dirt and dust also act as microscopic abrasives. Each interaction with your car can drag these particles across the paint. This creates fine scratches in the clear coat. Over time, these scratches dull the paint. Always use soft cloths and gentle methods for any sticker removal.
Post-Removal Care
Clean Residue Thoroughly
You have removed the main sticker. Now, you must tackle any leftover adhesive. Even after careful removal, some sticky residue often remains. Use a clean microfiber cloth. Apply a small amount of your chosen adhesive remover. Gently rub the area. Work in small sections. This ensures you remove all the glue. For stubborn spots, a mild rubbing compound can help. Apply it with a soft applicator pad. Rub lightly. This helps lift away any remaining stickiness. Your car will feel smooth again.
Wash and Wax Area
After cleaning the residue, wash the entire area. Use car wash soap and water. This removes any chemical traces from the adhesive remover. Rinse thoroughly. Dry the area with a clean towel. Next, apply a fresh coat of wax. Wax protects your car’s paint. It restores the shine. It also creates a barrier against future dirt and UV rays. This step is crucial for maintaining your car’s finish.
Inspect for Lingering Marks
Finally, inspect the area closely. Look for any lingering marks. Sometimes, you might see a very faint ghost image. This appears as an outline in the paint. It might be a logo, for example. You might also notice differences in color. The paint under the sticker may look brighter. This is because the surrounding paint has faded from sun exposure. This color difference might fade over time. However, it might not disappear completely. You could also see signs of UV damage to the clear coat. Micro scratches not present under the vinyl can also appear. Visible lettering in sunlight can also indicate the paint under the clear coat has been affected. These marks show the sticker’s long-term impact on your car.
Removing bumper stickers does not have to be a daunting task. You can achieve this without damaging paint. With patience, the right tools, and effective techniques, you can achieve clean removal. This ensures damage-free bumper sticker removal. Confidently try these methods. They are easy and effective. You have the right tools to remove car decals. Enjoy your clean, sticker-free vehicle.
FAQ
Can I remove bumper stickers from plastic bumpers?
Yes, you can remove stickers from plastic bumpers. Use the same methods as for painted surfaces. Be extra gentle with heat. Plastic can warp or melt more easily than metal. Always test a small, inconspicuous area first.
How long does bumper sticker removal usually take?
Removal time varies. It depends on the sticker’s age and size. It also depends on the adhesive’s strength. A simple sticker might take 5-10 minutes. A stubborn, old decal could take 30 minutes or more. Patience is key for good results.
What if some residue remains after trying these tips?
Do not worry if residue remains. You can reapply an adhesive remover like Goo Gone. You can also use rubbing alcohol. Gently rub the area with a microfiber cloth. For very tough spots, try the eraser wheel method.
Is it safe to remove old, cracked bumper stickers?
Yes, you can safely remove old, cracked stickers. These stickers often break into small pieces. Use heat to soften them. Then, gently scrape them off. You might need more time and product to remove all the fragments and adhesive.
Can I remove a bumper sticker without any special products?
You can try removing a sticker with just warm, soapy water and a plastic scraper. This works best for newer, less adhered stickers. For older or more stubborn decals, you will likely need an adhesive remover or heat.