
Black cars possess undeniable elegance, yet their dark surfaces readily reveal every imperfection. You understand the frustration of visible scratches and swirl marks. This blog offers 12 expert detailing hacks. These methods will effectively remove scratches from your black vehicle. You will learn to identify various scratch types. Discover advanced correction techniques and ensure lasting protection. Restore your car’s stunning, flawless finish.
Key Takeaways
Identify scratch types before you start. Surface scratches are light. Deep scratches go to the primer or metal.
Prepare your car well. Wash it thoroughly. Use good lighting. Tape off nearby areas.
Use the right method for each scratch. Use polish for light swirls. Use compounding for medium scratches. Use touch-up paint for deep scratches.
Protect your car after fixing scratches. Wash it regularly. Apply sealants or ceramic coatings. Avoid automatic car washes.
Understanding Black Car Scratches

Black cars look stunning, but they also highlight every flaw. Scratches and swirl marks appear more visible on dark paint. This happens because surface flaws create a strong contrast against the black background. A scratch often looks white or gray, drawing your eye immediately. Scratches also disrupt the smooth surface.
They reflect light differently, making imperfections stand out. Bright sunlight especially amplifies these issues. Any damage to the clear coat on a black car creates a sharp, noticeable contrast. Improper cleaning techniques, environmental contaminants, and road hazards also contribute to scratches.
Surface Scratches: Clear Coat Only
You will often see surface scratches as light swirls or spiderwebs. They reflect in sunlight. These are very shallow scratches in your car’s clear coat. You generally cannot feel them with your fingertip. A good rule to remember: if a scratch catches your fingernail, it is likely too deep to polish out. This means it is not just a clear coat scratch.
Damage Type | Visual Characteristics | Feel to the Touch | Layer Affected |
|---|---|---|---|
Clear Coat Scratches | Light swirls or spiderwebs, reflect in sunlight | Don’t feel deep | Clear coat |
Paint Scratches | Mar the colored layer | N/A | Beyond clear coat, into colored layer |
Deep Primer Scratches | Appear gray (if primer exposed) | Rough, catches a fingernail | Primer or metal |
Medium Scratches: Into Base Coat
Medium scratches go deeper than the clear coat. They reach into your car’s colored base coat. You can often tell you have a medium scratch if your fingernail catches when you run it across the damage. This indicates the scratch is deeper than just the clear coat. It likely reaches the base coat or even the primer. These scratches mar the colored layer of your paint.
Deep Scratches: To Primer or Metal
Deep scratches are the most severe. They penetrate through the clear coat and base coat. These scratches expose the primer or even the bare metal underneath. You will see distinct visual signs for these.
Scratch Type | Appearance/Color | Additional Identification |
|---|---|---|
Primer Scratch | White-ish, light grey, or dull gray | White or gray lines visible inside the scratch |
Metal Scratch | Bright metallic silver | Gray metallic silver-ish color, feels jagged and rough, fingernails catch easily |
A primer scratch appears as gray, white, or black lines. Your fingernail easily catches in it. A metal scratch shows a deep groove. It exposes the bare metal of your car’s body. You will need specific techniques to remove scratches of this depth.
Preparation is Key for Success
Thorough preparation is crucial for successful scratch removal on black cars. This step prevents further damage. It also ensures your scratch removal techniques work effectively. Black paint is sensitive. You need to be careful.
Hack 1: Thorough Wash and Decontaminate
You must thoroughly wash your car. Decontaminate it too. This prevents more damage. Do this before you try to remove scratches. Start with a two-bucket wash method. Use a pH-neutral car shampoo. This removes loose dirt and grime. Next, use a clay bar. The clay bar removes embedded contaminants. These include tar, tree sap, and industrial fallout. These contaminants can cause new scratches during the correction process. A clean surface is essential.
Hack 2: Proper Lighting for Identification
You need proper lighting to see scratches clearly. This is especially true for fine swirls on black paint. Good lighting helps you identify all imperfections. Swirl finder lights are very effective. They are essential tools for car detailing. These lights highlight below-surface defects. They reveal swirls and scratches. The Speed Master Swirl Finder Detailer Light works well on black paint. Its Pro version performs even better. These lights offer multiple color temperature options. You can choose from 2700K, 4500K, or 6500K. The Pro version adds 3500K and 5500K. They also have different brightness levels. This allows you to adjust for different paint colors and shop lighting. You can easily see what you need to fix.
Hack 3: Taping Off Adjacent Areas
Tape off any adjacent areas. This protects trim, emblems, and other delicate parts. Use painter’s tape or detailing tape. Apply it carefully around the area you will work on. This prevents accidental damage. It also keeps polishing compounds off surfaces they should not touch. This step is simple. It saves you from extra work later.
12 Master Hacks to Remove Scratches
Always test any product or technique on a hidden area first. This helps you see how the paint reacts. You should avoid common “household hacks” like toothpaste or baking soda. These are not professional methods. They can cause more damage to your car’s finish.
Hack 4: The Water Test for Depth
You can use the water test to check a scratch’s depth. Spray water directly onto the scratch. If the scratch disappears when wet, it is likely only in the clear coat. This means you can probably polish it out. If the scratch remains visible, it is deeper. This test helps you decide which repair method to use.
Hack 5: Scratch Remover Pen for Light Scratches
For very light, surface-level scratches, a scratch remover pen can be useful. These pens contain a clear resin that fills the scratch. You apply the resin, and it hardens, making the scratch less visible. This is a quick fix for minor imperfections. It helps to remove scratches that are not too deep.
Hack 6: Fine Abrasive Polishes for Swirls
Fine abrasive polishes are excellent for removing light swirls and haze. They contain mild abrasives. These abrasives gently remove a tiny layer of the clear coat. This smooths the surface and enhances shine. You can use them to remove scratches that are very shallow.
For faint swirling, use a very gentle, mild finishing polish. Avoid aggressive compounds.
Meguiar’s 205 Ultra Finishing Polish is a good choice. You can use it by hand, with a DA polisher, or a rotary tool. It works well for removing swirls on black cars. Use it with an orange pad at speed 5 on a GG6 polisher after washing and claying.
Other recommended fine polishes include 3M Perfect-It #1 and Sonax for a mirror finish.
Chemical Guys V36 and V38 ultimate final polish kit also works for light swirls.
3M Finesse-it Final Finish Polish is highly recommended, especially for black cars. It gives tremendous results.
Hack 7: Compounding for Medium Scratches
Compounding products are more abrasive than fine polishes. They contain stronger abrasives. You use them to tackle deeper imperfections. Compounding removes a small layer of paint or clear coat. This helps to remove scratches that are more noticeable.
Feature | Fine Abrasive Polishes (Polishing) | Compounding Products (Compounding) |
|---|---|---|
Abrasiveness | Less abrasive, contains mild abrasives | More abrasive, contains stronger abrasives |
Purpose | Refine and smooth surface, remove light imperfections, enhance shine | Tackle deeper imperfections, remove a layer of paint/clear coat |
Ideal For | Light imperfections (swirls, minor scratches, water spots), enhancing gloss, restoring depth | Severe damage (deep scratches, oxidation, heavily weathered paint) |
Result | Smoother, glossy, reflective finish | Removes defects, restores paint integrity (often followed by polishing) |
Hack 8: Wet Sanding: Advanced Technique
Wet sanding is an advanced technique for deeper scratches. It involves using very fine-grit sandpaper with water. This carefully levels the paint surface. You must be very careful with this method. It removes a significant amount of clear coat.
For light scratches or scuffs, use 2000 or 3000-grit sandpaper.
For scratches deeper than the clear coat, start with 1200 or 1500-grit sandpaper.
A good starting point to avoid deep damage is 1500–2000 grit. Always soak the sandpaper beforehand.
Work in a well-ventilated area.
Wear a dust mask to prevent irritation.
Use safety gloves to protect your hands.
Avoid working in direct sunlight. This prevents the paint from overheating.
Hack 9: Touch-Up Paint for Deep Scratches
For deep scratches that reach the primer or metal, touch-up paint is necessary. You carefully apply the paint into the scratch. Use a very fine brush or a toothpick. Build up thin layers until the paint is slightly raised above the surrounding surface. Let each layer dry completely.
Hack 10: Leveling Applied Touch-Up Paint
After the touch-up paint dries, you need to level it. This blends the new paint with the old. You can use a very fine-grit wet sandpaper (like 2500-3000 grit) or a specialized leveling solution. Work slowly and carefully. The goal is to make the repaired area flush with the rest of the paint.
Hack 11: Panel-by-Panel Work
When correcting paint, work on small sections. A 2×2 foot area is ideal. This size helps prevent heat buildup. It also optimizes the amount of product you need. Working in small sections ensures stability and better results. Product instructions are often based on this 2×2 area. This method helps you effectively remove scratches without overwhelming yourself.
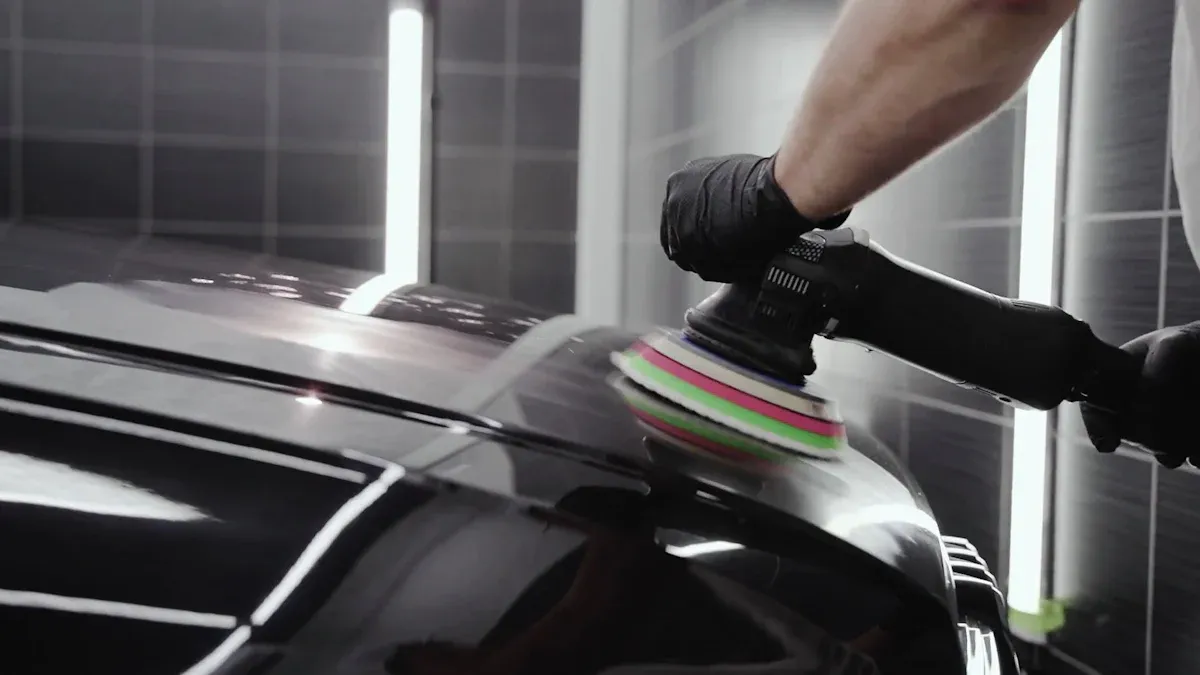
Hack 12: Final Polish and Protection
After correcting scratches, perform a final polish. This refines the surface and maximizes gloss. Then, apply a protective layer. This could be a wax, sealant, or ceramic coating. This layer protects your newly corrected paint. It also helps prevent new scratches.
Post-Correction Care: Maintaining Finish
You have successfully removed those unsightly scratches. Now, you must protect your car’s perfect finish. Ongoing maintenance and proper care routines are essential. These steps preserve your corrected finish. They also prevent new scratches from forming.
Regular Washing to Prevent New Scratches
Wash your car regularly. This prevents dirt and grime buildup. These contaminants can cause new scratches. Always use the two-bucket method. Use a grit guard in each bucket. This keeps abrasive particles away from your wash mitt. Use a pH-neutral car shampoo. Wash your car from top to bottom. Use a soft microfiber wash mitt. Rinse your car thoroughly. Dry it with a clean, soft microfiber towel. This prevents water spots. It also avoids introducing new swirl marks.
Applying Sealants or Ceramic Coatings
Apply a protective layer to your paint. This is crucial after correction. You can choose a high-quality sealant. Sealants offer several months of protection. They create a barrier against environmental damage. For longer-lasting protection, consider a ceramic coating. Ceramic coatings bond with your paint. They provide years of durability. They offer superior scratch resistance. They also make your car easier to clean. Both options enhance gloss. They keep your black car looking its best. ✨
Avoiding Automatic Car Washes
Avoid automatic car washes at all costs. These washes use harsh brushes. They often recycle dirty water. These elements introduce new scratches and swirl marks. This undoes all your hard work. Hand washing is always the safest method. If you must use an automatic wash, choose a touchless option. Touchless washes use high-pressure water and chemicals. They do not physically abrade your paint. This helps maintain your car’s flawless finish.
You will feel immense satisfaction restoring your black car’s finish. Remember these key steps:
Understand different scratch types.
Prepare your vehicle thoroughly.
Apply the correct detailing techniques. Approach this work with patience and attention to every detail. You will achieve and maintain a stunning, showroom-quality shine on your black vehicle. ✨
FAQ
Can I use household items like toothpaste to remove scratches?
No, you should avoid household items. Products like toothpaste or baking soda are not professional detailing methods. They can cause more damage to your car’s finish. Stick to specialized automotive products. 🚫
How do I know if a scratch is too deep to fix myself?
Perform the water test. If the scratch disappears when wet, you can likely polish it out. If your fingernail catches in the scratch, it is usually too deep for simple polishing. You may need touch-up paint. 💧
How often should I polish my black car?
You should polish your black car only when necessary. Polish removes a thin layer of clear coat. Over-polishing can thin your paint. Focus on proper washing and protection to maintain the finish. ✨
What is the best way to prevent new scratches on my black car?
Regularly wash your car using the two-bucket method. Apply a sealant or ceramic coating for protection. Always avoid automatic car washes. Hand washing is the safest method for your paint. 🧼


