Having a front license plate bracket is crucial for compliance with state laws. Did you know that 29 states, or 58% of the U.S., require a front plate? Installing a bracket is simple and only needs basic tools like a screwdriver. With the right guidance, you can easily install a front license plate bracket yourself!
Key Takeaways
Installing a front license plate bracket is essential for compliance with state laws. Check if your state requires a front plate.
Gather basic tools like a screwdriver, drill, and measuring tape before starting the installation. This preparation makes the process smoother.
Follow the step-by-step installation process carefully. Measure, mark, and secure the bracket to ensure it is straight and secure.
Tools for Installation
Before you dive into the installation process, let’s gather the tools you’ll need. Having the right tools on hand makes everything smoother and more efficient.
Essential Tools
Here’s a list of essential tools you should have ready:
Screwdriver: A flathead or Phillips screwdriver will work, depending on your bracket.
Drill: If your bracket requires drilling, a power drill will be necessary.
Measuring Tape: This helps ensure proper alignment of the bracket.
Level: To make sure your bracket is straight.
Wrench: A socket wrench can be handy for tightening bolts.
Tip: If you’re using an adhesive-mounted bracket, you might not need all these tools. Just follow the instructions provided with your bracket!
Additional Materials
In addition to tools, you may need some materials to complete the installation. Here’s a handy table outlining what you might require:
Component | Material | Description |
|---|---|---|
Backplate | 12-Gauge Steel | Exact size of a standard license plate for protection. |
Bracket | Steel | Backed with a soft rubber pad to protect the grille. |
Finish | Powdercoated | Textured black finish for durability. |
Hardware | Stainless Steel | Protects from the elements. |
You might also consider different types of brackets based on your preferences. For example, adhesive-mounted brackets are easy to install without specialized tools. Magnetic mounts are another great option, as they don’t require drilling or permanent hardware. Tow hook brackets utilize your vehicle’s tow anchor for attachment, making them a solid choice too.

With these tools and materials, you’re well on your way to successfully installing your front license plate bracket.
Install a Front License Plate Bracket

Preparation Steps
Before you start the installation, take a moment to prepare. First, gather all your tools and materials. Make sure you have everything ready to avoid interruptions. Next, clean the area where you’ll attach the bracket. A clean surface ensures better adhesion if you’re using an adhesive mount.
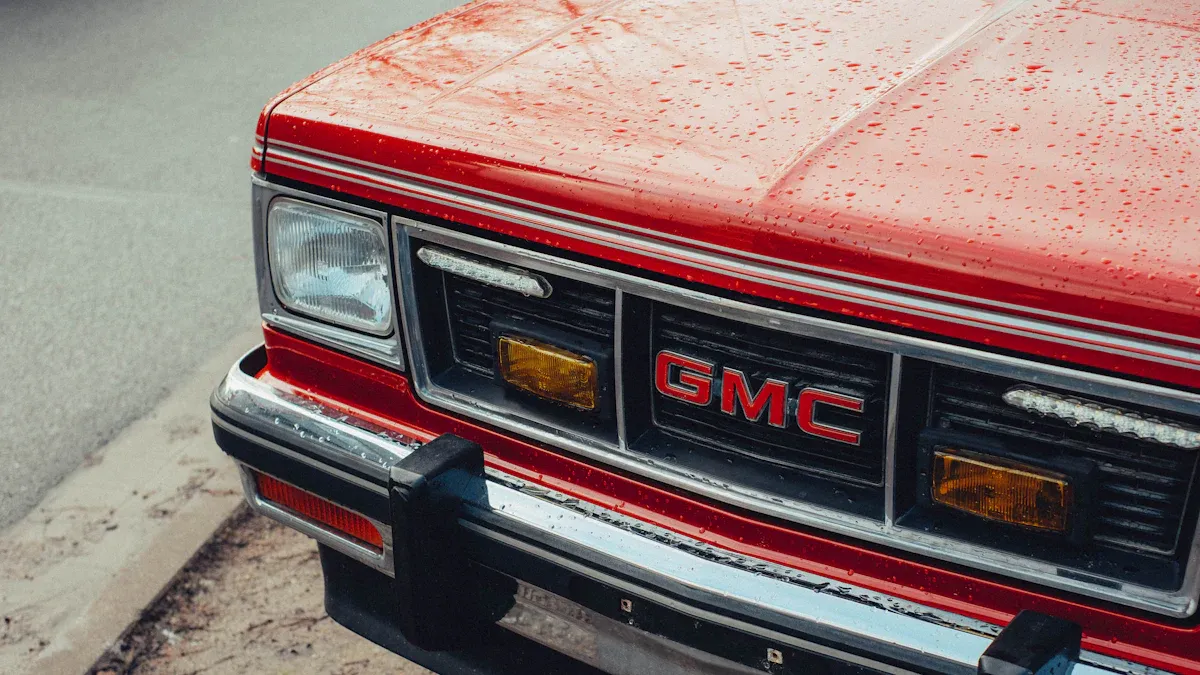
Now, let’s talk about measurements. For the best results, measure the area on your GMC Sierra where you plan to install the bracket. The Platypus License Plate Mount fits directly onto the grill of the GMC Sierra 1500, so you won’t need to drill any holes. This design not only simplifies the process but also protects your vehicle’s finish.
Installation Process
Now that you’re prepared, it’s time to install the front license plate bracket. Follow these steps:
Position the Bracket: Hold the bracket against the front of your vehicle. Use your measuring tape to ensure it’s centered.
Mark the Holes: If your bracket requires drilling, mark the spots where you’ll need to drill holes. Double-check your measurements to avoid mistakes.
Drill (if necessary): If you’re using a traditional bracket that requires drilling, carefully drill the holes at the marked spots. Make sure to use the appropriate drill bit size.
Attach the Bracket: Align the bracket with the drilled holes or adhesive area. If you’re using screws, insert them through the bracket into the holes and tighten them with your wrench. For adhesive mounts, press firmly and hold for the recommended time.
Install the License Plate: Finally, attach your license plate to the bracket using the provided screws or clips. Make sure it’s secure and straight.
Tip: If you’re using a no drill front license plate bracket, follow the manufacturer’s instructions closely. These brackets often come with adhesive or magnetic options that simplify the installation process.
Troubleshooting Tips
If you encounter any issues during installation, don’t worry! Here are some common problems and solutions:
Bracket Misalignment: If the bracket looks crooked, loosen the screws and adjust it until it’s straight. Use a level to ensure it’s perfectly aligned.
Loose License Plate: If your license plate feels wobbly, check the screws. Tighten them until the plate feels secure.
Adhesive Not Sticking: If you’re using an adhesive mount and it’s not sticking, clean the surface again and allow it to dry completely before reapplying.
Remember, the installation methods can vary based on the model year of your GMC Sierra. Some users have reported needing to drill holes in the front bumper, while others have found options for a no drill front license plate bracket. Always refer to your specific model’s guidelines for the best results.
Finishing Touches
Final Checks
After you finish installing your front license plate bracket, take a moment to do some final checks. This step ensures everything is secure and looks great. Here’s what you should do:
Inspect the Bracket: Make sure the bracket is firmly attached. Give it a gentle tug to see if it moves. If it feels loose, tighten the screws or reapply the adhesive.
Check the License Plate: Ensure your license plate is straight and securely fastened. A crooked plate can be an eyesore and may attract unwanted attention from law enforcement.
Look for Gaps: Check for any gaps between the bracket and the vehicle. If you see any, it might indicate that the bracket isn’t installed correctly.
Tip: Take a step back and look at your work from a distance. Sometimes, a fresh perspective helps spot issues you might have missed up close.
Maintenance Tips
Keeping your front license plate bracket in good shape is essential for its longevity. Here are some maintenance tips to help you out:
Regular Cleaning: Wipe down the bracket and license plate regularly. Dirt and grime can build up, making it look worn out.
Inspect for Damage: Periodically check for any signs of rust or wear, especially if you live in an area with harsh weather conditions.
Tighten Screws: Over time, screws can loosen. Make it a habit to check and tighten them every few months.
By following these simple checks and maintenance tips, you’ll ensure your front license plate bracket stays in top condition for years to come!
Installing a front license plate bracket on your GMC Sierra is straightforward. Just gather your tools, measure carefully, and follow the steps to secure the bracket. If you run into trouble, don’t hesitate to seek help. GMC even offers free installation for compliance with state laws!
Reason for Seeking Help | Description |
|---|---|
State Requirement | GMC mandates that license plate holders be installed in states where front plates are required. |
No Existing Bracket | Owners may need to install a bracket if their truck does not come with one, especially in states that require it. |
Free Installation | GMC offers free installation for those who need to comply with state laws. |
FAQ
What if my GMC Sierra doesn’t have a front license plate bracket?
You can purchase an aftermarket bracket or check with your dealer for an OEM option.
How do I know if my state requires a front license plate?
Check your state’s DMV website for specific laws regarding front license plates.
Can I install the bracket myself, or should I hire a professional?
You can easily install it yourself with basic tools. Just follow the steps outlined in this guide!