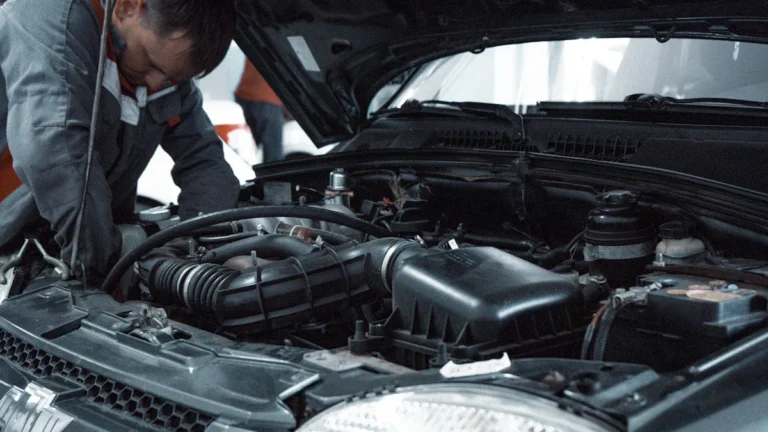
Brake lights staying on usually mean the pedal switch is stuck, misaligned, or the pedal stopper pad is missing, though wiring shorts and corroded connectors can also cause it. Initially check whether the lights respond once the pedal is pressed and released, listen for the switch click, and inspect the switch plunger and stopper pad. Quick fixes include cleaning or adjusting the switch, temporarily unplugging its connector, or pulling the brake fuse to protect the battery. Should problems persist a pro can test wiring and replace parts so more steps and repairs can be shown.
What It Means When Brake Lights Stay On
At the time brake lights stay on, it usually means something is holding the circuit closed and the lights cannot turn off, which can feel worrying and confusing for any driver. The situation signals a brake risk because constant illumination can drain the battery and leave a group stranded. Observing light behavior helps people feel included in solving the problem.
Frequently a stuck brake light switch or a missing pedal stopper pad keeps the pedal slightly pressed so the circuit stays engaged. Electrical shorts or damaged wiring can also feed power even though the car is off. Quick inspection and simple replacement of the switch or pad often fixes the issue without costly repair. Neighbors and friends can assist with basic checks and support.
Common Causes to Check First
At the time brake lights stay on, most people initially check a few simple parts because these often cause the problem and are easy to fix. A misaligned or faulty brake light switch near the pedal is the top suspect.
In case switch alignment is off or the plunger is dirty or corroded it can stick and keep the lights on. A missing or worn pedal stopper pad can let the pedal sit slightly down and hold the switch closed.
Alongside mechanical checks it helps to inspect bulbs and fuses to rule out basic failures. Lastly look at the light circuitry for wiring faults or shorts that could supply continuous power.
These checks are friendly opening steps that most members of a care group can manage.
Quick Diagnosis Steps You Can Do in Minutes
A quick brake pedal check gives a fast clue about why the lights stay on, so they should press and release the pedal while watching the rear lights for any change.
Next, a simple switch quick test is useful: have them inspect the switch area for dirt or a stuck plunger and try disconnecting the switch connector to see whether the lights go out.
These two steps work together to separate pedal or switch problems from wiring or fuse issues, and they can be done in minutes with just a flashlight and basic caution.
Brake Pedal Check
Once the brake lights refuse to turn off, a quick pedal check often finds the cause without tools or stress. One person can press and release the pedal while a friend watches the lights.
Should the lights stay on, the issue might be pedal sensitivity or a need for pedal adjustment. Next, look for a missing or broken stopper pad on the floorboard that keeps the switch from resetting. Feel the pedal for unusual stiffness or softness, since odd feel can mean interference with switch movement.
Then visually inspect the brake light switch near the pedal for misalignment or damage and confirm it moves freely as the pedal returns. These steps build confidence and keep the group involved in solving the problem.
Switch Quick Test
How should someone start a fast, no-fuss check of a brake light switch assuming the lights refuse to turn off? The person presses and releases the brake pedal while watching the rear lights to see whether they go out right away.
Next, they locate the brake light switch near the top of the pedal arm and inspect switch alignment and any visible damage. They listen for a click upon pressing and releasing the pedal because that click signals switch activation.
In case unsure, they disconnect the switch electrical connector to confirm whether the switch is the problem. They also check for debris or objects around the pedal that could hold the switch engaged.
These simple steps help the reader feel capable and supported while diagnosing the issue.
Fast Temporary Fixes to Stop Battery Drain
Start from staying calm and acting promptly to protect the battery and avoid a no-start morning. A team-minded reader finds practical, caring steps to stop battery drain with temporary fixes.
Initially, disconnect the brake light switch electrical connector to cut power immediately and prevent overnight drain. In case that is hard, pull the brake light fuse to halt current flow until help arrives.
Also try inserting a rubber pad or trimmed furniture pad at the pedal stopper to nudge the switch out of a stuck position. Manually press and release the pedal while checking the plunger switch to reset it.
When accessible, rotate or slightly adjust the switch mounting to relieve pressure and stop the lights. These actions work together to buy time until a proper repair can be scheduled.
Durable Repairs: Parts and Replacement Steps
A practical repair path starts with checking the brake light switch and the pedal stopper pad, along with their wiring and connectors, because these parts often cause lights to stay on.
The switch can be unplugged, rotated 1/4 turn to remove, and replaced in minutes, while the small stopper pad can be swapped after cleaning the pedal and removing any broken pieces.
In case wiring or connectors look worn, they should be inspected and cleaned or replaced so the new switch and pad work reliably and avoid repeat problems.
Brake Light Switch Replacement
Once the brake lights stay on, substituting the brake light switch is often the quickest and most reassuring fix, and it can usually be completed in under ten minutes with just a little patience. The switch sits near the pedal, and the friendly guide describes removal through disconnecting the connector, rotating the switch 1/4 turn counterclockwise, and pulling it free. A new unit costs about $10 to $30. Reinstallation needs pressing the pedal, inserting the switch, rotating clockwise to lock, and reconnecting wiring. Adjustment techniques and installation tips help align the switch so lights respond correctly. This step links to checking related parts and keeps people feeling capable and included while repairing together.
| Task | Detail |
|---|---|
| Location | Near brake pedal |
| Cost | $10 to $30 |
| Time | 5 to 10 minutes |
| Remove | Unplug, rotate 1/4 turn ccw |
| Install | Press pedal, insert, rotate cw, reconnect |
Pedal Stopper Pad
At the point the brake lights refuse to go out, a tiny rubber pad under the pedal can often be the quiet solution that saves time and money.
A worn or missing pedal stopper pad can let the pedal sit slightly down and keep the brake light switch engaged. Parts are affordable, often under $5, and multi-packs offer spare pads for future needs. Pad durability matters, so choose pads from a trusted source and inspect them periodically.
To replace one, remove broken pieces from the floorboard, slide the new pad under the pedal, and depress the pedal during installation for alignment. Installation tips include using gloves, keeping spare pads handy, and testing the lights after a five minute install to confirm proper return.
Wiring and Connectors
How can someone tell whether wiring or a connector is the real reason the brake lights stay on? Initially, visually inspect the wire harness near the brake light switch for frayed or exposed wires.
Then use a multimeter to test for voltage continuity and find shorts or grounding that feed constant power. In case connector corrosion is visible, replace the connector with an automotive grade part and secure the joint.
- Envision a tangled wire harness with one shiny corroded connector hiding in the gloom.
- Picture a multimeter needle that never drops because a short keeps the lights alive.
- Visualize neatly tied wires protected in split loom tubing after repair.
Should aftermarket accessories touch the circuit, carefully reroute or disconnect them to stop unintended current flow.
When to Call a Mechanic or Auto Electrician
Suppose a brake light stays on and simple fixes do not solve the problem, it can feel worrying and inconvenient, so it is wise to seek professional help. Whenever parts like the brake light switch are damaged or adjustments fail, a professional inspection and electrical diagnosis will find deeper faults. Provided the pedal feels stiff or lights remain on after part replacement, a mechanic can test the pedal mechanism and circuits. The next table shows common signs, who to call, and why this matters.
| Sign | Who to call | Why it matters |
|---|---|---|
| Switch failure | Mechanic | Safety risk |
| Wiring short | Auto electrician | Prevent fire |
| Repeated drain | Auto electrician | Protect battery |
| Stiff pedal | Mechanic | Restore control |